Guide to assembling your WingUpdated 5 months ago
One of the main advantages of most wing systems is the fact that they are modular, which allows them to be adapted and modified to meet specific diving requirements.
The only downside to this is that they often require some degree of assembly which can be a daunting task if it is your first wing!
Luckily it is usually relatively straightforward but does take a bit of time and patience. We've gathered some helpful guides and videos to try and make this as easy as possible!
Please bear in mind that your wing may be different from the ones described. If you're unsure, the best thing to do is obtain guidance from your specific make and model manufacturer.
Backplate and Webbing
The most basic form of a wing and the one that requires the most amount of assembly! Likely you'll be starting with just a roll of webbing, a backplate and a bag of metal pieces that may not logically present themselves.
Hollis has published their instructions on how to assemble the Solo Harness to a Backplate.
Attaching the Bladder
Once you have your Backplate and Webbing assembled into a Harness, the next step you'll likely take is to attach the Harness to the Bladder.
The simplest way to do this is by using a pair of Book Screws to attach your Harness to the Bladder;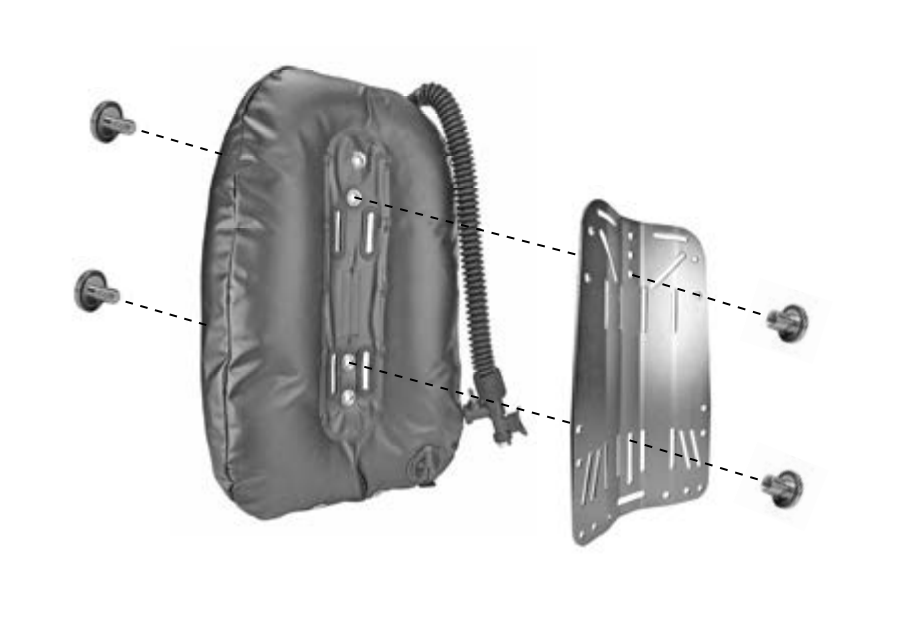
With some systems, you can omit the use of Book Screws and instead use the Tank Bands (Cam Bands) to hold everything together. This is an effective way of keeping everything together; however, it is worth noting that your wing will only be securely held together when attached to a cylinder when using this method. To this end, we would generally recommend using Book Screws with most systems.
Threading the Tank Bands
This is usually a straightforward step, and relatively evident by this point, you'll be looking to loop your tank bands (Cam Bands) through your assembly. Generally speaking, you will want to have the buckle end of the strap on the same side as your inflator hose.
The hardest bit of this for most people is threading the buckle; usually, numbers on the slots serve as a guide to threading the buckle, but they are not always clear!
How to thread a buckle can be found here
Other Accessories
We'll briefly cover some of the other accessories or parts you may have in your assembly, although the way these attach is now generally specific to the make and model of wing you have.
Weight Pockets
an integrated weight system is an excellent addition to a Wing, especially if it is removable, so you can take it off when you don't need it! Usually, these will be threaded through the waist strap and attached to the backplate by a set of screws - please see your specific manual for exact instructions.
The Apeks manual for the WTX Surelock Weight system serves as an excellent general guide. There is also a handy video from Dive Rite on attaching their 16lb weight system.
Single Tank Adaptor
These are used if you have a large wing made for using twin sets. By attaching a Single Tank Adaptor, you can adapt these wings to be used with a single-cylinder. Usually, these will bolt through the Bladder and Harness in the same slots you may place book screws in and provide two pairs of vertical slots that you can thread your tank bands through.